What do you actually need to fix a flat tire at home, tighten a rattling stem, or check a stretched chain without buying a workshop’s worth of gear? That question trips up almost every new cyclist. The internet throws hundred-piece tool cases at you, bike shop staff speak a different language, and somewhere between a $15 folding multi-tool and a $300 professional setup, there is a sensible middle ground. This guide walks through what a beginner kit genuinely needs, where cheap kits cut corners, and how to build or buy a setup that will serve you for years.
What Counts as a Beginner Bike Repair Tool Kit?

A beginner kit is not a full workshop. It is a small, focused collection that handles the jobs a new rider faces most often: flat tires, loose bolts, worn brake pads, and a chain that needs occasional attention. Anything beyond that, like wheel building or bottom bracket replacement, can wait until you have more experience and a reason to invest.
Most sensible beginner setups fall into three tiers:
| Tier | Typical contents | Best for | Main trade-off |
|---|---|---|---|
| Roadside kit | Multi-tool, tire levers, patch kit or spare tube, mini pump | Riders who mostly fix things away from home | Less comfortable for home repairs |
| Home starter kit | Floor pump with gauge, hex keys, screwdrivers, chain tool, tire levers, spoke wrench | New riders doing their own basic maintenance | Skips some specialty tools |
| Expanded beginner kit | Starter kit plus torque wrench, chain checker, cassette tool | Riders with carbon parts or several bikes | Higher cost, more tools to learn |
The honest answer is that no single standard defines a “beginner kit.” A road cyclist with a carbon frame and 12-speed drivetrain has different needs than someone riding a hybrid to the shops. Bike type matters more than any list you will find online.
The Tools That Earn Their Place
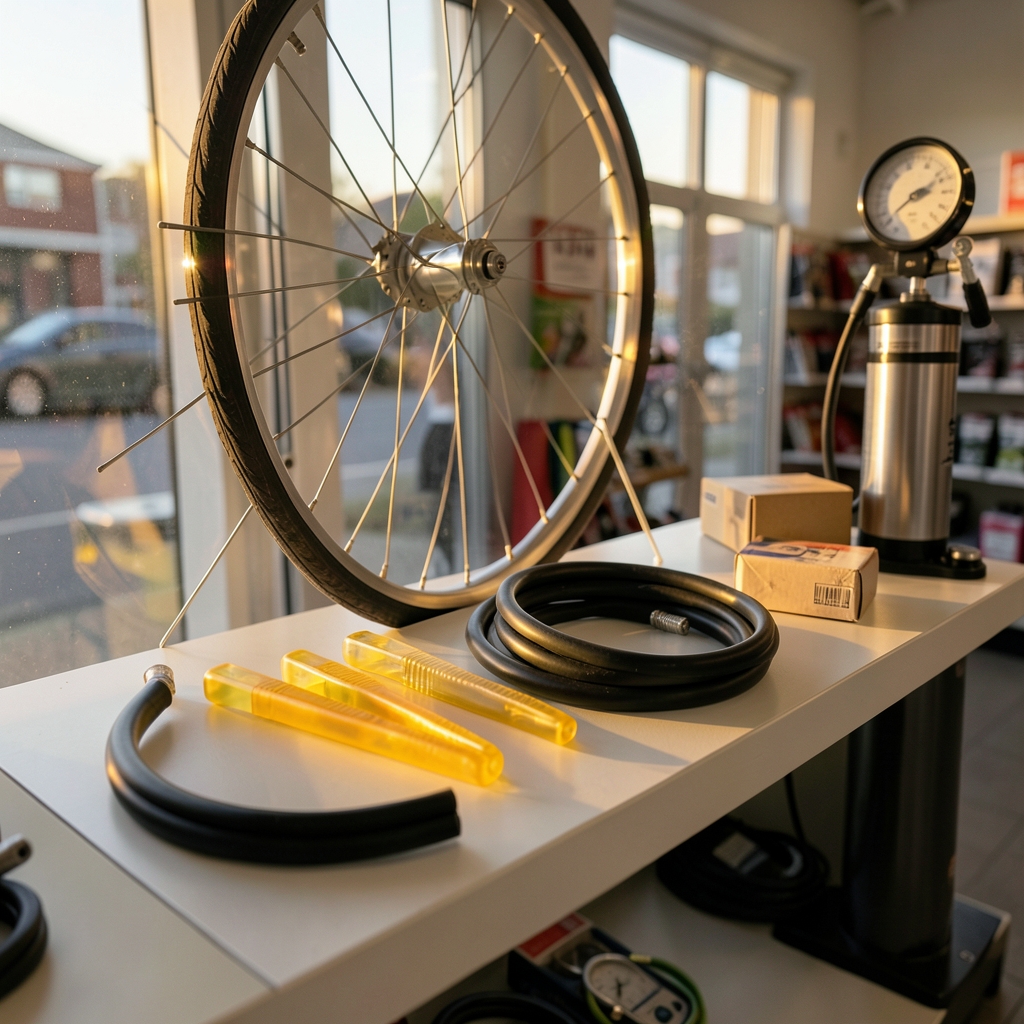

Tire levers and a patch kit
Plastic tire levers are the right choice for almost everyone. Metal levers can scratch rims and pinch tubes, and the plastic versions cost very little. Most kits include two or three, which is about right: one to hook under the bead, one to work around the rim, one spare.
Pair the levers with either a patch kit or a spare tube. Beginners often carry patches and then discover they are fiddly at the roadside in the rain. A spare tube plus a small patch kit as backup is the practical combination.
A floor pump with a gauge
This is the tool beginners underestimate most. A floor pump with a built-in pressure gauge makes it easy to hit the pressure printed on the tire sidewall, and correct pressure prevents a surprising number of flats and handling complaints. Mini pumps are for emergencies; a floor pump is for every ride before you leave.
Hex keys, especially 4, 5, and 6 mm
Most modern bike fasteners use metric hex keys. The 4, 5, and 6 mm sizes cover the majority of stem, seatpost, and derailleur bolts, so a kit that skips 5 mm is a kit with a hole in it. Check the contents list before buying. A good set runs from 2 mm to 8 mm and comes in a holder so you do not lose the small ones.
Screwdrivers and a chain tool
A Phillips and a flathead screwdriver handle limit screws and older fittings. A chain tool lets you remove and rejoin a chain, which sounds advanced but is one of the more forgiving jobs a beginner can learn. If you want to build confidence before touching your own drivetrain, working through a beginner sudoku guide is a surprisingly good way to practice the same patient, step-by-step thinking that bike repair rewards.
A spoke wrench and cassette tool
These are the “grow into them” tools. A spoke wrench lets you true a slightly wobbly wheel, and a cassette removal tool is needed for cassette swaps and deep cleaning. Neither is urgent in month one, but both are worth having before year one ends.
Where Cheap Kits Cut Corners
Budget kits are not automatically bad, but they tend to fail in predictable places. Knowing these patterns saves money and frustration.
Soft metal hex keys. Inexpensive keys round off at the tips and then strip bolt heads, which turns a two-minute job into a bike shop visit. A kit with decent steel keys is worth the extra money.
Missing sizes. A set that jumps from 4 mm to 6 mm looks complete in the photo and fails on the most common bolt on the bike. Count the sizes.
Tools that duplicate instead of complement. Some kits pad the count with fifteen bits you will never use and omit the chain tool you will. Function count is marketing; coverage is what matters.
No torque guidance. If your bike has carbon components, torque values are not optional. Over-tightening a carbon seatpost clamp or stem bolt can crack expensive parts. Many modern frames and components print torque values directly on the part, and a small torque wrench in the 2 to 15 Nm range covers most of them.
One practical habit: before buying any kit, walk around your own bike with the kit’s contents list in hand and check that every bolt you can see is covered. That single check catches most bad purchases.
Multi-Tool or Full-Size Tools?
Folding multi-tools are popular because they fit in a saddle bag, and for roadside repairs they are genuinely useful. The trade-off is ergonomics. A folding tool with eight to twenty functions is harder to grip and easier to slip than a full-size key, which matters when you are putting real force into a stubborn bolt.
The practical split most experienced riders settle on is simple: a multi-tool lives on the bike, and full-size tools live at home. Buy both, but buy them for their jobs. A cheap multi-tool is fine as a backup; a cheap home hex set is not.
If you enjoy the puzzle-solving side of maintenance and want to sharpen that mindset, tools like a smart tool puzzle make a pleasant companion to an afternoon in the garage.
Torque Wrenches: Overkill or Necessary?
For alloy frames and components, a torque wrench is nice to have. For carbon frames, seatposts, handlebars, and stems, it is necessary. Carbon does not forgive overtightening the way steel does, and the failure is expensive and sometimes dangerous.
You do not need a laboratory-grade instrument. A small click-type wrench covering roughly 2 to 15 Nm handles stem, seatpost, and bottle cage bolts, which is where beginners do the most damage. Learn to read the value printed on the part, set the wrench, and stop when it clicks. That is the whole skill.
Chain Care Without Guesswork
Chain wear is one of those things beginners discover late, usually when shifting gets sloppy and a new cassette costs more than it should have. A chain checker measures elongation and turns a vague feeling into a number.
Here is where caution matters: wear thresholds differ by manufacturer and drivetrain. Commonly cited figures sit around 0.5% for 11- and 12-speed chains and 0.75% to 1% for older or cheaper setups, but those numbers vary by brand and chain type. Check your specific manufacturer’s documentation rather than trusting a generic figure from a forum. A chain checker is inexpensive and removes the guesswork entirely.
Building a Kit Versus Buying One
Both routes work, and the right choice depends on how much time you want to spend.
Buying a pre-assembled beginner kit is faster and often cheaper per tool. The risk is filler: tools you will never touch sitting next to a missing size you need. Read the contents list line by line and compare it against the three tiers above.
Building your own kit takes a few purchases but gives you exactly what you need. Start with a floor pump, a hex set, tire levers, and a patch kit. Add a chain tool and torque wrench next. Add the cassette tool and spoke wrench when a job actually calls for them. This staged approach spreads the cost and means every tool has a purpose the day it arrives.
Whichever route you choose, keep the kit together in one box or roll. Tools that scatter across a garage get lost, and a missing 5 mm key at the wrong moment is its own small tragedy. If you like organizing systems, browsing a puzzle generator tool collection can spark ideas for labeling and sorting small parts.
Learning the Repairs Instead of Only Buying the Tools
Tools without technique are just expensive metal. The good news is that beginner repairs are genuinely learnable, and the sequence matters more than the talent.
- Master the flat tire first. Removing a wheel, levering off a tire, checking the inside of the casing for the thorn that caused the flat, and refitting without pinching the tube is the single most valuable skill you can build.
- Learn bolt checks next. Go around the bike with the right hex key and confirm stem, seatpost, and accessory bolts are snug, using a torque wrench where values are printed.
- Move to brake pad inspection and replacement. Pads wear predictably, and spotting wear early prevents rim or rotor damage.
- Learn chain cleaning and lubrication, then chain wear checking.
- Attempt derailleur adjustment last. It is fiddly, and it is much easier once you understand how the rest of the drivetrain behaves.
If you prefer a structured path, a complete beginner’s guide to playing and learning step by step is a good model for how to approach any skill: small steps, repeated until they feel automatic. Bike repair works the same way. When you are ready to organize your practice sessions or track which repairs you have mastered, a tool that fits your actual workflow can help you schedule maintenance instead of reacting to breakdowns.
Common Beginner Mistakes
The same handful of errors show up again and again, and each one is easy to avoid once you know it.
- Buying the biggest kit available. Tool count is not skill. A focused kit gets used; a sprawling one gathers dust.
- Skipping the floor pump. Riders buy a multi-tool first and a pump last, which is backwards. Pressure is the most frequent maintenance task on any bike.
- Using metal tire levers. They damage rims and pinch tubes. Plastic is correct.
- Overtightening without a torque wrench. Especially on carbon. The click is your friend.
- Ignoring chain wear. A worn chain wears out the cassette and chainrings, turning a cheap replacement into an expensive one.
- Never practicing. A patch kit you have never opened is a patch kit you cannot use at the roadside. Practice once at home, in good light, before you need it in the rain.
Conclusion
The best bike repair tool kit for a beginner is not the largest or the cheapest. It is the one that covers the jobs you actually face, uses materials that will not damage your bike, and comes with a little knowledge attached. Start with a floor pump with a gauge, a solid metric hex set that includes 4, 5, and 6 mm, plastic tire levers, and a patch kit or spare tube. Add a chain tool, a torque wrench if your bike has carbon parts, and a chain checker as your confidence grows. Then practice the flat repair until it stops feeling like a crisis. The tools are the easy part; the habit of maintenance is what keeps a bike running quietly for years.
Frequently Asked Questions
What tools should a complete beginner buy first?
Start with four things: a floor pump with a pressure gauge, a metric hex key set covering 2 to 8 mm, plastic tire levers, and a patch kit or spare tube. These cover tire pressure, loose bolts, and flats, which are the three most common issues a new rider faces. Everything else can wait until a specific job calls for it.
Is an expensive tool kit worth it for a beginner?
Not necessarily, but the cheapest kits often fail in ways that cost more later. Soft hex keys strip bolt heads, and missing sizes force a bike shop trip. A mid-range kit with solid steel keys and full size coverage is the better value. Spend on the tools you will use weekly, like the pump and hex keys, and save on the ones you will use rarely.
Do I really need a torque wrench?
If your bike has carbon components, yes. Carbon stems, seatposts, and handlebars can crack from overtightening, and many parts print their torque values directly on the surface. A small click-type wrench covering roughly 2 to 15 Nm handles most of these bolts. For an all-alloy bike, it is helpful but less urgent.
How often should I check my chain for wear?
Check it every few hundred kilometers, or whenever shifting starts to feel less crisp. A chain checker measures elongation in seconds. Wear thresholds vary by manufacturer and drivetrain, with commonly cited figures around 0.5% for 11- and 12-speed chains and 0.75% to 1% for older setups. Follow your specific manufacturer’s guidance rather than a generic number.
Can I use a folding multi-tool for all my home repairs?
You can, but it is not ideal. Folding multi-tools are designed for portability, and their small handles make it harder to apply controlled force, which raises the risk of slipping or stripping a bolt. Keep a multi-tool on the bike for emergencies and use full-size tools at home for anything that needs real leverage.
How do I stop losing small tools and parts?
Keep the kit in one box or tool roll, and return each tool to its slot after every job. Label small containers for patches, quick links, and spare bolts. Most lost-tool frustration comes from tools scattered across a garage rather than from tools that were never bought.