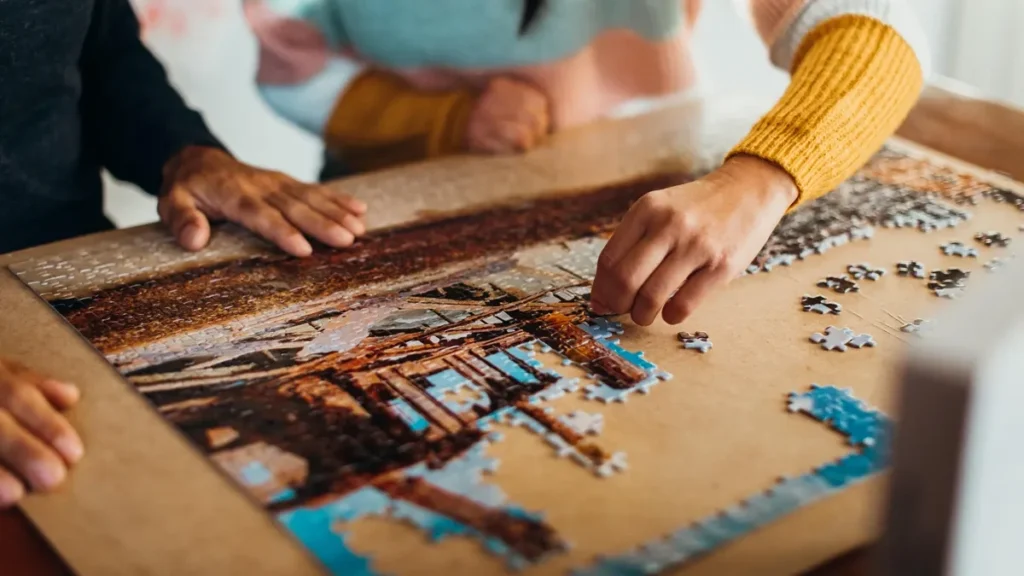
Making your own puzzles at home is a brilliant way to transform cherished memories, artwork, or simple household items into an engaging activity. Whether you are looking for a screen-free family project or a deeply personal gift, learning how to build a puzzle from scratch offers endless creative possibilities. It allows you to control the difficulty, the imagery, and the materials used from start to finish.
Crafting a high-quality diy jigsaw puzzle is far easier than it looks, and you do not need expensive specialized equipment to achieve great results. With a few basic crafting tools and a little patience, you can design a beautiful game piece that looks clean and fits together perfectly. This guide will walk you through the entire process step by step, ensuring your homemade project looks completely professional.
The Benefits of Crafting Homemade Puzzles
Engaging in a puzzle craft project delivers an array of benefits that go far beyond the final physical product. It is a dual-layered creative experience where both the creation process and the final solving process challenge your brain.
For young crafters, a diy puzzle for kids serves as a phenomenal developmental tool. It helps build fine motor skills during the cutting phase and strengthens spatial awareness during the assembly phase. For adults, crafting a personalized item offers a therapeutic, meditative escape from digital screens while producing a lasting keepsake.
Essential Materials for Your DIY Puzzle Project
Before you begin assembling your project, you must gather the proper supplies. Using the correct backing material and adhesive prevents the paper from peeling or warping during the cutting phase.
-
The Backing Material: A sturdy base is critical. A cardboard puzzle diy project works best when utilizing heavy chipboard, thick backing boards, or clean upcycled shipping boxes.
-
The Main Image: You can use high-resolution family photographs, original drawings, colorful construction paper, or printed digital art.
-
Adhesive: A high-quality spray adhesive or standard Mod Podge works beautifully to seal the image to the backing.
-
Cutting Tools: A sharp utility knife, a precision craft blade, or heavy-duty crafting scissors are essential for clean edges.
-
Safety Gear: A self-healing cutting mat and a metal ruler protect your surfaces and keep your straight cuts perfectly aligned.
Step-by-Step Guide: How to Make a Puzzle From Scratch
Follow these clear, structured steps to ensure your project turns out beautifully without any frustrating tears or jagged edges.
Step 1: Prepare and Seal Your Image
Select the image you want to transform. If you are creating a diy photo puzzle, print your chosen photograph on high-quality matte or glossy photo paper. Lay your cardboard base down flat and apply a thin, even layer of spray adhesive or Mod Podge across the surface.
Carefully press the photo onto the cardboard, smoothing it out from the center outward using a clean brayer or a plastic squeegee to eliminate any trapped air bubbles. Allow the adhesive to dry completely for at least two hours before moving to the next step.
Step 2: Draw Your Grid and Template
Turn the dry board over so the cardboard backing faces upward. Use a pencil and your metal ruler to draw a light grid on the back. The size of the grid squares dictates the overall difficulty of your project.
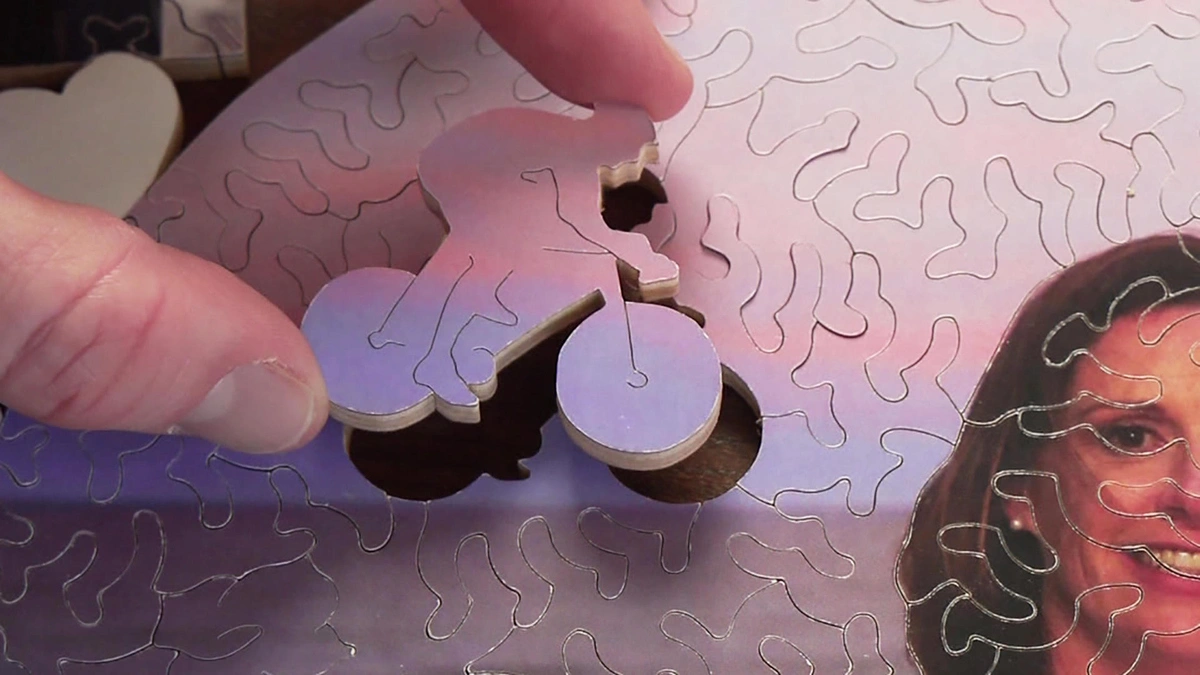
Inside each grid square, draw classic interlocking loops, waves, or geometric tabs to create your classic puzzle shapes. If you are designing this for toddlers, keep the shapes large, simple, and straight to ensure easy handling.
Step 3: Execute the Precision Cuts
Place your project image-side down on top of your self-healing cutting mat. Use your sharp utility knife to carefully trace the pencil lines you drew on the backing. Do not rush this process.
Apply steady, downward pressure and pull the blade toward you along the lines. If you are using scissors, cut the board into long strips first, then cut the individual interlocking shapes out of each strip. Once all cuts are complete, gently brush away any loose paper fibers.
Custom Puzzle Design Inspiration Matrix
To help you decide which style of project fits your current needs, we have compiled a quick reference matrix comparing different build methods.
| Puzzle Type | Best Base Material | Recommended Image Source | Target Audience | Difficulty Rating |
| Toddler Shape Match | Thick foam board | Bright construction paper | Toddlers and Preschoolers | Very Easy |
| Family Photo Keepsake | Heavy chipboard | Glossy photo print | Adults and Grandparents | Intermediate |
| Upcycled Shipping Box | Corrugated cardboard | Reclaimed wrapping paper | Eco-conscious Crafters | Easy |
| Fine Art Challenge | Extra-thick wood board | Printed classic artwork | Advanced Enthusiasts | Difficult |
Advanced Tips for an Excellent Finish
If you want to elevate your project from a basic weekend craft to a premium gift item, implementing a few professional finishing techniques makes a massive difference.
Create a Brilliant Personalized Presentation
A personalized puzzle diy project makes an exceptional gift for birthdays, anniversaries, or holidays. To make the presentation truly spectacular, store the disassembled pieces inside a custom box. You can print a miniature version of the completed image and glue it to the top of the box lid to serve as a helpful assembly guide for the recipient.
Achieve a Long-Lasting Protective Gloss
To protect your hard work from fingerprints, spills, and general wear over time, apply a protective clear coat over the image before you begin cutting. Two thin coats of clear acrylic sealer spray or clear Mod Podge will preserve the colors and keep the edges from fraying during frequent assembly sessions.
Explore Creative Variations
Do not limit yourself to standard rectangular shapes. You can explore various diy puzzle ideas by changing the external border. Cut your project into the shape of a large heart for a Valentine’s Day surprise, or create a star-shaped boundary for a holiday activity.
Conclusion
Learning how to make a puzzle is an incredibly rewarding process that combines structural precision with artistic freedom. From selecting the perfect family photograph to carefully slicing out the final interlocking shapes, every step allows you to craft a completely unique experience. It is a wonderful way to preserve memories and create a functional piece of art that can be enjoyed for generations.
Gather your crafting supplies, choose your favorite vibrant image, and start building your custom project this weekend. For more incredible brain teasers, interactive word games, and creative design ideas to keep your mind sharp, make sure to visit riddlepuzzle.
Frequently Asked Questions
What is the best cardboard thickness for a homemade puzzle?
Based on available data, the ideal thickness for a cardboard puzzle base is between 1.5mm and 2mm. This thickness provides excellent structural rigidity so the pieces snap together satisfyingly, while remaining thin enough to cut smoothly with a standard precision utility knife.
Can I use regular school glue for this craft project?
Standard liquid school glue is generally not recommended because it contains a high water content. This moisture can easily saturate regular printer paper and thin cardboard, causing the materials to warp, wrinkle, or bubble as they dry. Stick to spray adhesives, glue sticks, or specialized decoupage mediums.
How do I make a puzzle that is safe for toddlers?
To make a safe homemade jigsaw puzzle for young children, use thick craft foam sheets or heavy corrugated cardboard as your base. Ensure all the pieces are cut exceptionally large, roughly the size of an adult palm, to completely eliminate any potential choking hazards. Keep the edges smooth and simple.
How can I make a jigsaw puzzle if I cannot draw the shapes freehand?
If you are uncomfortable drawing the interlocking piece shapes by hand, you can download and print a free puzzle template grid from the internet. Glue this printed paper template directly onto the back of your cardboard base to serve as a perfect cutting guide.