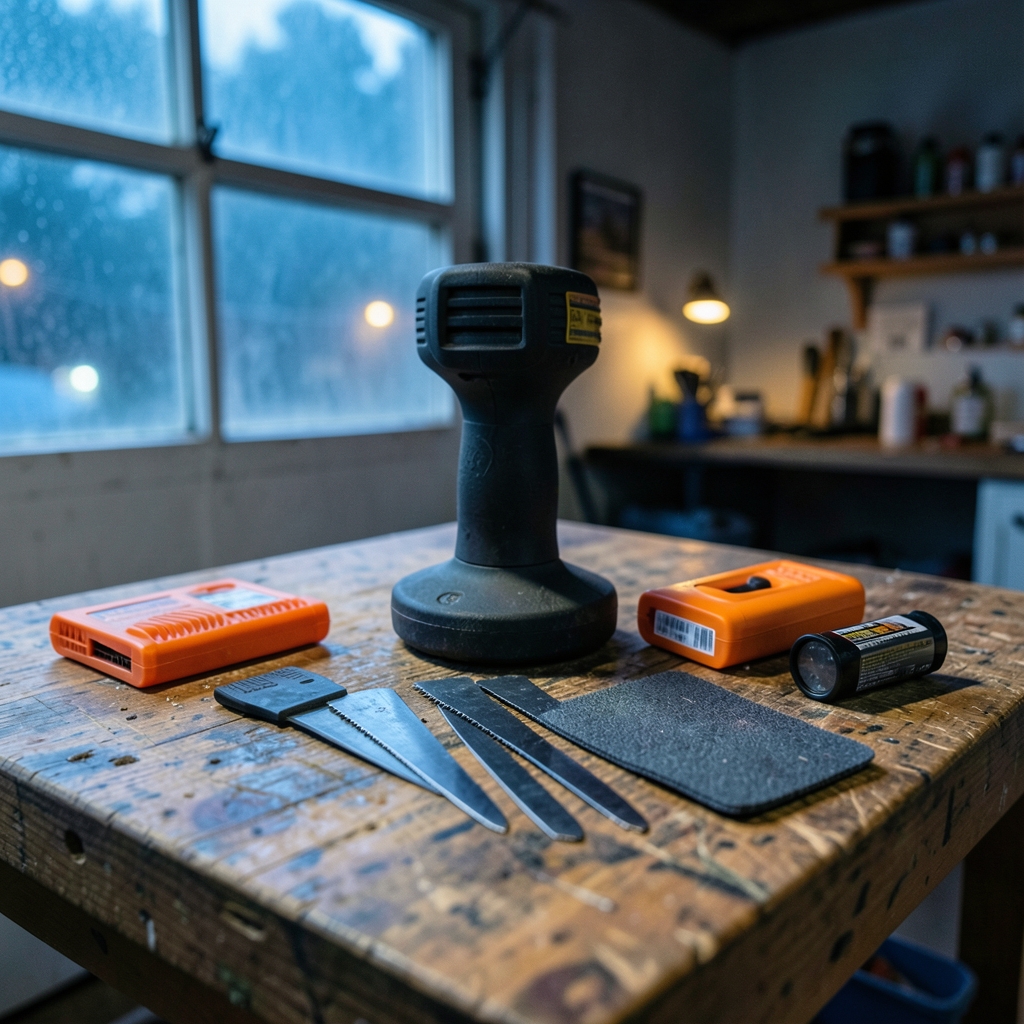
What if the tool that finally solves your awkward cutting, sanding, and scraping jobs is the one you keep walking past at the hardware store because it looks complicated? That is the strange reputation of the oscillating multi-tool. It is one of the most useful power tools in a home workshop, yet beginners often skip it because the blade wall looks intimidating and the spec sheets read like stereo instructions.
Here is the good news: an oscillating multi-tool is genuinely beginner-friendly once you understand what it does and which three or four features matter. This guide walks through how the tool works, which specs deserve your attention, where beginners overspend, and how to choose a model that will still make sense two years from now.
What an Oscillating Multi-Tool Actually Does
An oscillating multi-tool (often shortened to OMT, or sold as a multi-cutter or oscillating tool) drives a small blade in a rapid side-to-side arc rather than spinning it like a circular saw or pushing it back and forth like a jigsaw. That tiny arc is the whole trick. Because the blade moves only a few degrees, you can plunge it straight into drywall, slide it flush against a baseboard, or rest it flat on a floor to undercut a door frame.
The category was popularized by Fein’s MultiMaster, commonly cited as arriving in the late 1960s, and it stayed a professional tool for decades before cordless versions pushed it into home workshops. The core jobs beginners use it for are consistent:
- Flush cutting door casings, trim, and dowels
- Plunge cutting into drywall for outlet boxes and repair patches
- Undercutting door jambs so flooring slides underneath
- Sanding corners and tight spots a random orbital sander cannot reach
- Scraping old adhesive, caulk, and paint
- Grinding and cutting small metal pieces like nails and bolts
Notice what is missing from that list: ripping long boards, cutting thick lumber, or heavy demolition. An OMT is a detail tool. Beginners who buy one expecting a do-everything saw end up disappointed, while beginners who buy one for trim and repair work wonder how they lived without it.
The Specs That Matter for Beginners

Tool marketing is designed to make every model look advanced. In practice, a first-time buyer only needs to weigh a handful of features. The table below ranks them by how much they affect day-to-day experience.
| Feature | Why it matters for beginners | Priority |
|---|---|---|
| Power source (corded vs. cordless) | Corded gives steady power; cordless gives freedom and fits an existing battery platform | High |
| Tool-free blade change | You will swap blades constantly; a hex key gets old fast | High |
| Variable speed | Prevents burning blades and scarring soft materials | High |
| Oscillation angle | Smaller angle suits detail work; larger angle cuts faster | Medium |
| Blade interface compatibility | Determines which accessories fit and what they cost | Medium |
| Brushless motor | Longer runtime and life, but a premium price | Low |
| Kit contents | A case and starter blades save money upfront | Low |
Corded or Cordless?
This is the first real decision, and it has a clean answer for most beginners. Corded multi-tools deliver consistent power and never run out of battery mid-cut. They also cost less for equivalent performance and are not tied to one brand’s batteries. Cordless models shine for quick repairs, ladder work, and anyone already invested in a brand’s battery platform.
If a beginner already owns two or three tools from one cordless system, buying the bare tool without batteries is often the smartest move. If they own nothing, a mid-range corded model is usually the better first purchase. The same logic applies across tool categories, which is why it helps to compare how pricing models work before committing to one battery platform.
Tool-Free Blade Change Is Not a Luxury
Beginners swap accessories more than they expect. A single afternoon of trim work might involve a wood blade, a metal blade for nails, and a sanding pad. A tool-free or quick-change system turns that into a five-second job. A hex-key mount turns it into a hunt for the wrench you just set down.
This is one of the few features where spending a little more genuinely pays off, because it removes a small friction point that otherwise repeats every single time you use the tool.
Variable Speed and Oscillation Angle
Variable-speed control lets you dial down the oscillation for delicate work. On high, the tool chews through wood quickly; on low, it sands a painted surface without scorching it. Beginners who only ever run full speed are the ones who burn through blades and gouge softwood.
Oscillation angle is the arc the blade travels. A smaller angle gives more control and cleaner detail cuts; a larger angle removes material faster. Most beginners are better served by a model with a moderate angle and good speed control than by chasing the biggest number on the box.
Blade Compatibility: The Hidden Cost
Accessory mounting interfaces differ between brands, and some use proprietary systems. Before buying a bare tool, check which blades fit and what a three-pack costs. Blades are consumables. They dull fast on metal and nails, and over a couple of years the replacement blades can rival the price of the tool itself. A cheap tool with expensive, hard-to-find blades is a false economy.
Where Beginners Overspend (and Where They Shouldn’t)
The most common mistake is buying a professional-grade kit for occasional DIY use. Premium features like high oscillation angles, brushless motors, and 30-piece accessory cases matter enormously to someone using the tool daily. For a homeowner fixing trim twice a year, they mostly add cost.
The second common mistake is the opposite: buying the cheapest model on the shelf and discovering the blade mount is proprietary, the speed is fixed, and the whole thing vibrates like a phone on a table. A sensible middle path looks like this:
- Decide corded or cordless based on your existing tools and where you will work.
- Confirm the blade interface is widely supported and blades are affordable.
- Insist on tool-free blade change and variable speed.
- Buy a modest starter kit rather than a giant accessory set.
- Budget for replacement blades from day one.
That same “avoid over-speccing” principle shows up in almost every tool category. It is the reasoning behind guides on affiliate marketing tools pricing comparison flat fees vs subscription models, and it applies just as well to power tools: match the spend to the actual frequency of use.
Practical Tips That Separate a Smooth First Project From a Frustrating One
A few habits make an oscillating multi-tool feel intuitive instead of jumpy.
Let the blade do the work. Beginners tend to push hard, which overheats the blade and slows the cut. Light pressure and a steady hand cut faster and leave a cleaner edge.
Start on scrap. Every material behaves differently. A two-minute test on an offcut tells you which speed setting works before you touch a visible surface.
Mark your depth. For plunge cuts into drywall or flooring, tape a line on the blade or hold the tool against a scrap block as a depth stop. Plunge cutting is the fastest way to ruin a floor if you guess.
Use the right blade. Wood blades on nails destroy teeth in seconds. Keep a metal-capable blade for material with hidden fasteners, and treat old painted trim as guilty until proven otherwise.
Manage the dust. Sanding and cutting drywall, old paint, and treated lumber generate fine dust. Eye protection and hearing protection are standard for this tool, and a respirator or dust extraction is sensible for sanding and for any work on older materials. Small workshops benefit from a simple extraction setup, much like the thinking behind free low cost technical seo tools alternatives that actually work for lean setups: modest, targeted equipment beats an expensive pile of gear you never use.
Check the blade before every session. A dull blade is the number one reason beginners think their tool is broken. Fresh blades cut cooler, cleaner, and safer.
How the Oscillating Multi-Tool Fits Your Other Tools
It helps to know what the OMT replaces and what it does not. It is not a substitute for a circular saw, a jigsaw, or a drill. It is the tool you reach for when none of those fit.
Consider a typical flooring job. A circular saw cuts the planks. A jigsaw handles the notches around door frames. The oscillating multi-tool undercuts the door jambs so the new floor slides beneath them, and it trims the transition strips. Each tool has a lane, and the OMT owns the tight, flush, and awkward cuts.
The same “right tool for the specific job” logic applies to software. Beginners assembling a workflow often find that a focused tool beats a bloated suite, which is why comparisons like competitor analysis tools alternatives use instead focus on fit rather than feature counts. A multi-tool is the physical version of that principle: one job done well in a space nothing else can reach.
Safety Basics Beginners Should Not Skip
Oscillating multi-tools are relatively forgiving, but they are not harmless. The blade oscillates fast enough to slice through a glove, and the tool’s vibration over long sessions is worth respecting.
- Wear eye protection every time, including for sanding.
- Wear hearing protection during sustained cutting.
- Use a respirator for sanding and for cutting drywall, old paint, or treated wood.
- Clamp the workpiece. A multi-tool demands two hands, so the material must not move.
- Keep fingers behind the blade line, and never reach into a plunge cut to clear debris while the tool runs.
- Unplug or remove the battery before changing accessories.
None of this is exotic. It is the same discipline that applies to any power tool, and beginners who build the habit early never have to unlearn a bad one.
Conclusion
The best oscillating multi-tool for a beginner is not the most powerful or the most expensive one. It is the model that fits how often you actually work, uses blades you can afford to replace, and lets you change accessories without hunting for a wrench. Decide corded or cordless first, insist on tool-free blade change and variable speed, check the blade interface, and buy a modest kit rather than a monster one. Then spend your first session on scrap material learning what the tool wants. Do that, and the odd-looking tool on the shelf becomes the one you reach for first.
Frequently Asked Questions
Is an oscillating multi-tool good for beginners?
Yes. The tool is forgiving because the blade moves in a small arc rather than spinning, so it is hard to kick back and easy to control. The main learning curve is choosing the right blade and the right speed, both of which improve quickly with a little practice on scrap material.
Do I need a corded or cordless oscillating multi-tool as a first purchase?
Most beginners are better served by a corded model, which delivers steady power, costs less for equivalent performance, and is not tied to a battery platform. Choose cordless if you already own batteries from a brand’s system or need the tool on ladders and in tight spaces away from outlets.
How much should a beginner spend on an oscillating multi-tool?
Aim for the middle of the range rather than either extreme. A modest, well-supported model with tool-free blade change and variable speed covers nearly all home repair work. Remember to budget for replacement blades, since consumables can add up to a significant share of the total cost over time.
What blades does a beginner actually need?
Start with three: a wood-cutting blade for trim and plunge cuts, a metal-capable blade for nails and hidden fasteners, and a sanding pad with a few grits. Skip the giant accessory kits until a specific job demands something more.
Can an oscillating multi-tool cut through drywall?
Yes, and plunge cutting drywall for outlet boxes and repair patches is one of its best uses. Mark the cut line, run a moderate speed, use light pressure, and wear eye protection and a respirator, since drywall dust is fine and travels easily.
Why does my multi-tool cut so slowly?
The usual culprit is a dull blade, followed by too much pressure and the wrong speed setting. Pushing hard generates heat without speeding the cut. Fit a fresh blade, reduce pressure, and test speed settings on scrap before blaming the tool.