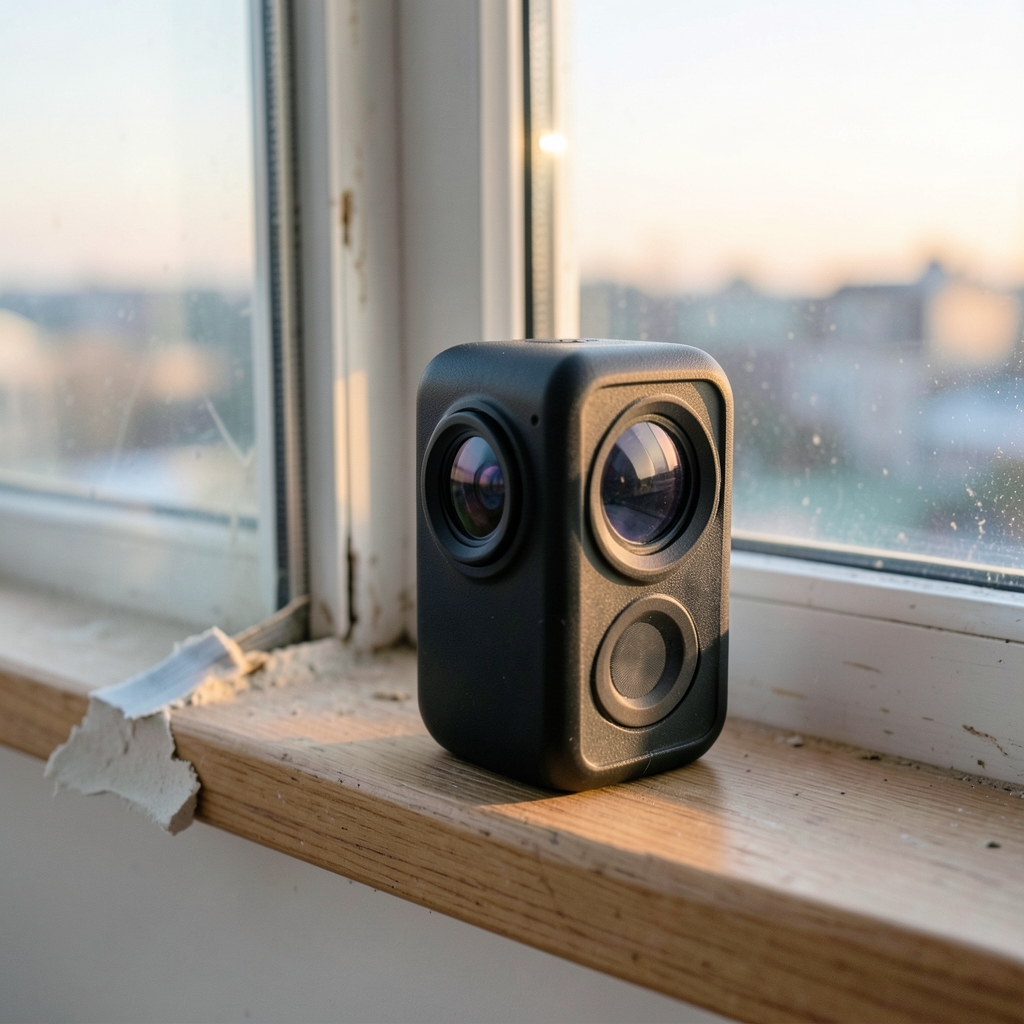
Can a thermal camera that costs less than a nice dinner out really show you a hot wire behind drywall or a cold draft around a window frame? Yes, it can. But the gap between a genuinely useful budget thermal camera and a frustrating toy comes down to a handful of specs that most product pages bury in small print. This guide walks through what separates a smart buy from a paperweight, which spec numbers matter, and how to match a camera to the job you actually have.
Start With the Detector, Not the Screen
Almost every cheap thermal camera on the market uses an uncooled microbolometer sensor. This sensor type responds to long-wave infrared in roughly the 8 to 14 µm band, which is exactly why budget cameras can be small, silent, and battery-powered. No cryogenic cooling, no moving parts, no drama.
Here is the trap. Sellers love to advertise display resolution because big numbers look impressive. A 320×240 screen sounds great until you learn the detector behind it is only 80×60. Detector resolution is what limits real thermal detail. Interpolation smooths the image and makes it look prettier, but it does not create information that was never captured.
Think of it like a digital photo blown up to poster size. It looks bigger. It does not look sharper.
For most budget buyers, the practical ladder looks like this:
| Detector Resolution | What It Is Good For | Realistic Limits |
|---|---|---|
| 80×60 | Spotting gross temperature differences, finding a hot breaker, checking for draft paths | Blurry blobs; hard to identify small components |
| 160×120 | Home energy audits, plumbing leaks, basic electrical inspection | Struggles with fine detail at distance |
| 256×192 | Serious DIY and light professional work, PCB troubleshooting, building diagnostics | Costs more; still not a replacement for higher-end gear |
If a listing does not state detector resolution clearly, that is a warning sign. Move on.
Thermal Sensitivity: The Spec Nobody Talks About

NETD, or noise equivalent temperature difference, tells you how small a temperature difference the camera can resolve. It is measured in millikelvin (mK). Lower is better. A camera with a NETD of 40 mK can pick out subtler differences than one sitting at 150 mK.
Why does this matter in practice? Because most of what people hunt with thermal cameras is not a blazing hot spot. It is a slightly cool patch of wall where insulation is missing, or a pipe that is a couple of degrees off from its surroundings. A camera with poor sensitivity will show you a mushy, noisy image where that subtle difference disappears into the grain.
Budget cameras often land in the tens-to-hundreds of mK range. That is workable for many tasks. Just know that the cheapest units tend to have the noisiest images, and no amount of image processing fully fixes that.
Emissivity: Why Your Readings Can Lie
Here is a mistake that catches nearly every first-time buyer. Thermal cameras do not measure temperature directly. They detect infrared radiance and then infer temperature using emissivity and other corrections. Shiny metal has low emissivity and reflects its surroundings, so a reading off a chrome fitting or a polished aluminum panel can be wildly off.
Practical fixes that actually work:
- Put a piece of matte electrical tape on shiny surfaces and let it reach equilibrium before measuring.
- Set the camera’s emissivity value when the menu allows it, especially for plastics and painted surfaces.
- Treat any reading off bare metal as a relative comparison, not an absolute number.
This one habit separates people who trust their camera from people who trust their camera and get burned.
Accuracy Claims Deserve Skepticism
Budget cameras commonly quote accuracy around ±2 °C, or a percentage of reading, over a limited temperature range. Notice the qualifier. Outside that range, accuracy degrades, sometimes dramatically. A camera rated to 400 °C may be perfectly usable at 60 °C and shaky at 380 °C.
Manufacturer accuracy claims also are not standardized across budget brands, so comparing two spec sheets side by side is not always apples to apples. If absolute temperature precision matters for your work, budget cameras are the wrong tool for the final word. They are excellent for finding where a problem is, then confirming with a contact thermometer.
Frame Rate and the Export Rule Most People Miss
Many thermal cores are deliberately limited to under 9 Hz. This is not laziness. It relates to US export-control thresholds for certain dual-use infrared cameras, and higher-frame-rate models can fall under regulation. The practical upshot for buyers is that a slightly choppy refresh rate on a cheap camera is often a regulatory design choice, not a defect.
For static work like building inspection or spotting a hot component, sub-9 Hz is fine. For tracking a moving animal or scanning quickly across a large panel, it feels sluggish. Know which camp you are in before you buy.
Smartphone Modules vs. Standalone Units
Smartphone-attached thermal modules are one of the most sensible budget routes. They borrow your phone’s screen, processor, and battery, which strips out cost. The catch is that performance still depends entirely on the module’s detector and lens, so a cheap module with an 80×60 sensor will perform like any other 80×60 sensor.
Standalone units win on convenience. They survive being dropped, they work with gloves on, and they do not drain your phone. If you are climbing into an attic or crawling under a house, a rugged standalone body is worth the premium.
A quick comparison:
| Factor | Phone Module | Standalone Camera |
|---|---|---|
| Cost | Lower | Higher |
| Screen quality | Excellent (your phone) | Varies widely |
| Durability | Fragile | Generally rugged |
| Battery life | Drains your phone | Dedicated battery |
| Best for | Occasional checks, hobbyists | Regular field use |
Match the Camera to the Job
There is no universal “best” here because use cases pull in opposite directions. Building diagnostics want decent resolution and good sensitivity to catch subtle temperature differences across a wall. Electrical inspection wants enough detail to identify a specific breaker or lug. Wildlife observation wants frame rate and often a longer lens. Close-up PCB work wants a short minimum focus distance, and a cheap high-resolution camera with a fixed long-focus lens can actually be worse than a lower-resolution unit that focuses close.
Spending more on resolution while ignoring focus distance is one of the most common budget buying mistakes. Read the minimum focus spec. It matters more than people expect.
Where Budget Thermal Cameras Fit in a Small-Business Toolkit
For tradespeople and small teams, a budget thermal camera is often a first-pass diagnostic tool rather than a final measurement instrument. It tells you where to look. A multimeter, a moisture meter, or a contact probe tells you what is actually happening.
That same logic applies across a lean toolkit. Teams stretching a limited budget often pair hardware purchases with low-cost software that punches above its weight. If you are verifying leads before a site visit, a roundup of the best low cost email verification tools that actually work on a budget is worth a read. If you are building inspection reports or wiring diagrams from your findings, the best low cost AI diagram tools for budget-conscious teams can save hours. And if you are automating the analysis side of your workflow, the best low cost AI coding tools for budget conscious developers covers the practical options.
One Important Health Caveat
Thermal cameras marketed for fever screening are not diagnostic devices. Regulatory guidance has repeatedly flagged the limitations of infrared thermography for this purpose, and a budget camera is especially poorly suited to it. Do not buy a cheap thermal camera expecting medical-grade screening. That is not what it is for, and treating it that way can create real risk.
Practical Buying Checklist
Before you click buy, run through this list:
- Confirm the detector resolution as well as the display resolution.
- Find the NETD figure, or at least a stated thermal sensitivity.
- Check the accuracy range and note where it degrades.
- Look up the minimum focus distance if you plan close-up work.
- Note the frame rate if you need to track motion.
- Verify whether emissivity is adjustable.
- Check whether the battery is replaceable or built-in.
If a seller cannot answer three of those seven, that is your answer.
Common Mistakes That Waste Money
Buying on display resolution alone is the big one. Chasing the highest temperature range is another, since most household and light commercial work happens well under 150 °C. Skipping the emissivity setting leads to false confidence. And forgetting that a budget camera is a locating tool, not a certified instrument, leads to overreach.
The people who get the most out of a cheap thermal camera are the ones who use it to answer one question: where is the problem? Everything after that is a different tool’s job.
Conclusion
The best budget thermal imaging camera is not the one with the biggest number on the box. It is the one whose detector resolution, thermal sensitivity, and focus distance actually match the work in front of you. A 160×120 sensor with reasonable NETD and adjustable emissivity will outperform a flashier unit with a big screen and a tiny detector almost every time. Buy for the job, verify the specs that sellers hide, and treat the camera as a locator rather than a laboratory instrument. Do that, and a modest budget goes a surprisingly long way.
Frequently Asked Questions
What resolution do I need in a budget thermal camera?
For general home and electrical checks, 160×120 is the sweet spot. An 80×60 detector works for spotting obvious hot or cold spots but struggles with detail. Step up to 256×192 only if you need to identify small components or work at a distance.
Is a smartphone thermal module as good as a standalone camera?
The sensor determines image quality, so a module and a standalone unit with the same detector perform similarly. The difference is durability, battery independence, and ergonomics. Modules are cheaper and fine for occasional use; standalone bodies suit regular field work.
Why does my thermal camera give wrong readings on metal?
Because the camera infers temperature from infrared radiance using emissivity, and shiny metal has low emissivity and reflects its surroundings. Use matte tape on the surface, adjust the emissivity setting, or treat metal readings as relative comparisons rather than absolute values.
What does NETD mean and why should I care?
NETD, or noise equivalent temperature difference, measures how small a temperature difference the camera can resolve. Lower values in millikelvin mean better sensitivity. Budget cameras with high NETD produce noisier images where subtle differences vanish.
Why do many budget thermal cameras have a low frame rate?
Many thermal cores are limited to under 9 Hz to stay below US export-control thresholds for certain dual-use infrared cameras. It is a design and regulatory choice, not a defect. Static inspection work is unaffected; tracking fast motion is not ideal.
Can a budget thermal camera be used for fever screening?
No. Thermal cameras marketed for fever screening are not diagnostic devices, and regulatory guidance has highlighted their limitations. A budget camera is a locating and inspection tool, not a medical instrument, and should not be relied on for health screening.