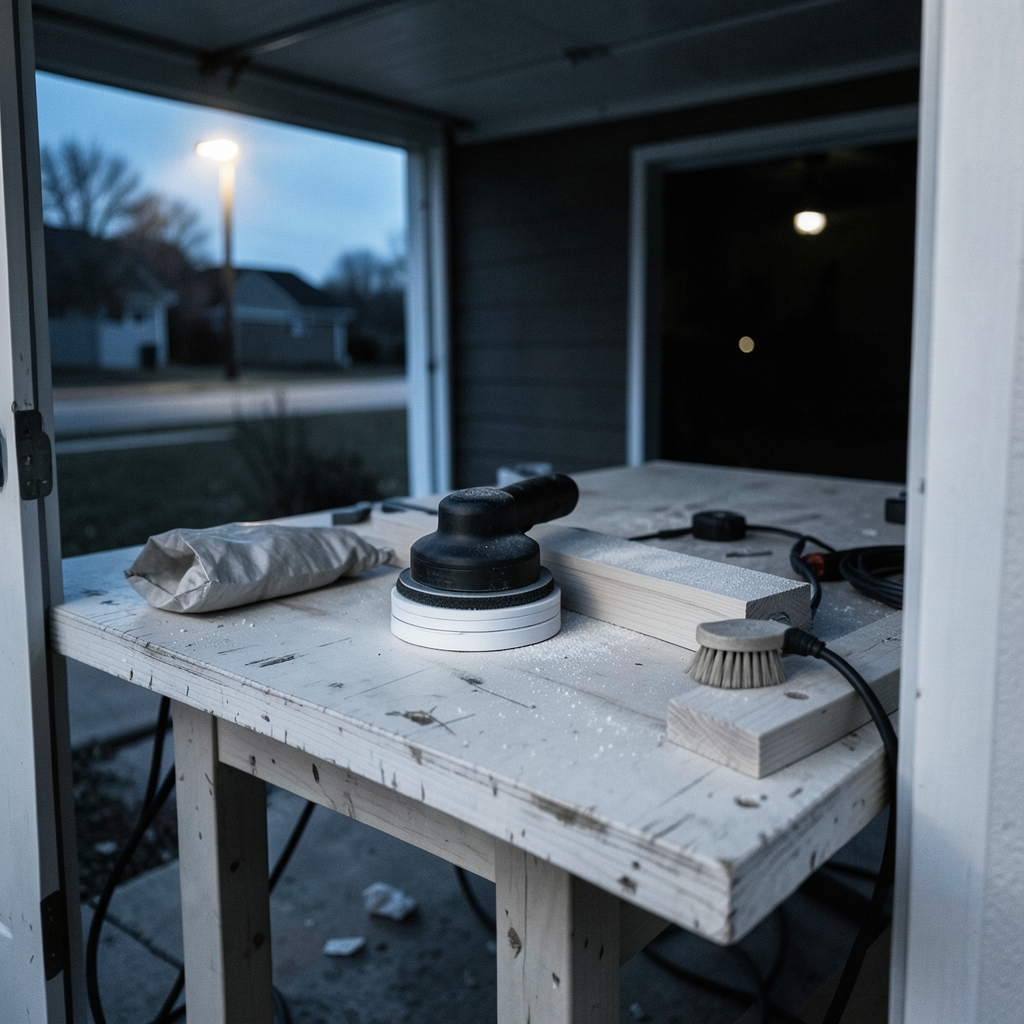
What separates a $50 orbital sander from a $150 one, and does the cheap model ever make sense? For most weekend woodworkers, DIY homeowners, and small-shop makers, yes — a well-chosen budget sander can flatten a tabletop, prep a cabinet for paint, and strip old finish without burning through your tool allowance. The catch is that the budget category is full of models that look identical on the shelf but behave very differently once the motor warms up.
This guide covers what genuinely matters in a low-cost random orbital sander, where corners get cut, and how to spend wisely. It also flags the practical mistakes that make cheap sanders feel worse than they are.
What “Budget” Really Means in Orbital Sanders
Most budget random orbital sanders cluster into two bands. The entry band is roughly $35 to $70, and the step-up band runs about $70 to $130. Above that, you’re paying for brushless motors, better vibration control, and dust collection that actually works.
The important thing to understand is that price bands don’t map neatly to performance. A $60 sander with a decent motor and a rigid backing pad can outperform a $110 model with a flexible pad and a weak dust port. What changes as you spend more is consistency: cheaper units vary more from one example to the next.
Three specifications do most of the real work:
- Orbit diameter. A 3/32-inch (2.4 mm) orbit is gentle and leaves finer scratch patterns. A 3/16-inch (5 mm) orbit removes material faster but needs more care on finish passes.
- Orbits per minute (OPM). Budget sanders typically run 10,000 to 13,000 OPM. Variable speed is more useful than raw top-end speed.
- Pad size. 5-inch pads are the practical standard because abrasive discs are cheap and widely stocked. 6-inch pads cover ground faster but need a stronger motor to avoid bogging down.
Amperage is the number shoppers overlook. A 2.4-amp motor and a 3.0-amp motor look similar on paper, but the higher draw usually means less stalling when you lean into the tool. On a budget, aim for at least 2.5 amps if the listing states it.
Corded vs. Cordless on a Tight Budget

Corded wins for budget buyers, and it isn’t close. A corded sander at $60 delivers more sustained power than a cordless bare tool at the same price — and the cordless option usually requires batteries and a charger you may not own.
Cordless sanders make sense only if you already have a battery platform and you’re working in places without outlets. Otherwise, the money is better spent on the tool itself. Sanding is a high-drain, continuous task, so battery runtime on a compact pack is short.
There’s a related budget lesson from other tool categories: paying for the cheapest possible option often costs more in the long run. The same logic that applies when teams compare low cost AI coding tools for budget-conscious developers holds here — the value question isn’t the sticker price, it’s cost per useful hour of work.
Dust Collection: The Budget Feature That Matters Most
Here’s the uncomfortable truth about cheap sanders: most of them collect dust poorly. A cloth bag catches maybe half the fines. The rest goes into the air and onto your project, where it clogs the abrasive and shortens disc life.
Two fixes cost little:
- Adapt the port to a shop vacuum. Most budget sanders use a 1-1/4-inch or 1-3/8-inch port. A rubber step adapter costs a few dollars and transforms performance. Dust extraction keeps the abrasive cutting and keeps your shop breathable.
- Use a cyclone separator or a bag in the vac. Fine sanding dust clogs vacuum filters fast. A cheap separator saves filters and keeps suction strong.
If you sand indoors at all, dust matters for health and for finish quality. Fine wood dust is a known respiratory irritant, and the practical answer is extraction at the source rather than a mask alone.
Vibration, Ergonomics, and the Fatigue Tax
Cheap sanders vibrate. That’s the honest trade-off. A sander that buzzes your hands for an hour leaves them numb, and numb hands make sloppy passes.
A few practical mitigations:
- Don’t death-grip the tool. Let the sander’s weight do the work. Pressing down slows the orbit and creates swirl marks.
- Use both hands. One hand on the body, one on the front grip, and let the tool float.
- Take breaks. Ten minutes on, two minutes off beats one long session for both your hands and your finish quality.
- Check the pad. A worn or delaminated backing pad transmits vibration. Replacement pads are inexpensive and often the single biggest comfort upgrade on a budget unit.
Gel gloves and anti-vibration gloves help, but they’re a workaround. If you sand for hours weekly, the vibration difference alone justifies stepping up a price band.
Abrasives Matter More Than the Sander
This is the most common budget mistake: spending the entire budget on the tool and then buying the cheapest discs available. Cheap abrasive sheds grit, loads up in seconds, and leaves scratches that take extra passes to remove. You end up spending more time and more discs.
A practical grit progression for most projects:
| Stage | Grit | Purpose |
|---|---|---|
| Strip or flatten | 60–80 | Remove old finish, level joints |
| Shape | 100–120 | Remove previous scratches |
| Prep for finish | 150–180 | Smooth surface, raise grain |
| Between coats | 220–320 | Scuff finish lightly |
Two rules that save money and frustration. First, never skip more than one grit step. Jumping from 80 to 220 means the coarse scratches never come out. Second, don’t press. Pressure overheats the abrasive and burns the surface.
Buying discs in packs of 25 or 50 in the grits you actually use is cheaper per disc than buying singles. Hook-and-loop backing is standard on budget sanders and worth insisting on.
Eight-Inch vs. Detail: Matching the Tool to the Job
Budget buyers often try to make one sander do everything. It doesn’t work well.
A 5-inch random orbital sander handles flat panels, tabletops, doors, and cabinet boxes. It struggles in corners and on narrow trim. A small detail sander or a sanding block covers those areas for very little money.
If your work is mostly refinishing furniture, the random orbital is the right first purchase. If it’s mostly trim and built-ins, a detail sander plus hand blocks may serve you better. Planning the tool set the way you’d plan any resource-constrained project — the same discipline behind choosing low cost AI diagram tools for budget-conscious teams — keeps you from buying overlapping tools that each do half a job.
What to Check Before You Buy
A short pre-purchase checklist catches most budget disappointments:
- Pad flatness. Press the pad against a straightedge. If it rocks, the pad is warped and the sander will leave dished surfaces.
- Pad attachment. Hook-and-loop is standard. Screw-on pads limit your abrasive choices.
- Speed control. A dial with a usable low range matters more than a high top speed.
- Switch type. A sealed dust-protected switch lasts longer in a dusty shop.
- Cord length and quality. Short, stiff cords are a nuisance. A 10-foot rubber cord is a genuine upgrade.
- Warranty. Two or three years is reasonable at this price. One year suggests limited confidence in the product.
- Replacement parts availability. If pads and switches aren’t sold separately, the tool is disposable.
That last point is worth dwelling on. A sander whose pad you can replace in two years is a better long-term buy than a slightly cheaper one you’ll throw away. The same principle shows up whenever people weigh low-cost email verification tools that actually work on a budget — repairability and ongoing support quietly beat a lower headline price.
Common Mistakes That Make Budget Sanders Feel Bad
These come up again and again in workshop conversations, and each one is fixable.
Sanding with a loaded disc. Once the abrasive clogs, it stops cutting and starts burnishing. Knock the disc clean or swap it. A loaded disc also heats the surface, which can lift veneer.
Moving the sander too fast. Slow, overlapping passes in a consistent pattern produce flat surfaces. Racing around creates gouges and uneven areas.
Tipping the sander. Lifting one edge digs a groove. Keep the pad flat, and stop before you reach an edge rather than tipping over it.
Skipping the pencil scribble test. Draw light pencil lines across the workpiece, sand, and check whether they’re gone evenly. It’s the cheapest quality-control method in woodworking.
Ignoring the workpiece. Softwoods cut fast and clog abrasives. Hardwoods need more passes. Veneered panels need a light touch and fine grits. A budget sander is capable on all of these if the operator adjusts.
Not cleaning the pad. Dust between the pad and disc reduces grip and creates a spongy feel. A quick brush-out extends pad life.
Where Budget Sanders Genuinely Fall Short
Honesty matters here. Budget orbital sanders have real limits.
The motor is usually the weak point. Under sustained load, cheap motors slow down, and a slowing orbit means uneven scratch patterns. On a large tabletop, that difference shows up as visible swirls in raking light.
Bearings and seals are also lower grade. Dust ingress is the leading cause of early failure, which is why extraction matters twice: it protects your lungs and your tool.
Finally, finish quality on fine furniture is where the gap is widest. For paint-grade work and utility projects, a budget sander is entirely adequate. For a hand-rubbed finish on hardwood, the vibration control and pad precision of a better tool earn their keep.
Conclusion
The best budget orbital sander isn’t the cheapest one on the shelf. It’s the one with a flat pad, at least 2.5 amps, variable speed, a standard 5-inch hook-and-loop pad, replaceable parts, and a dust port you can plumb into a shop vacuum. Spend there, buy decent abrasives in bulk, and let the tool float rather than forcing it. Do those things and a $60 to $90 sander will handle the overwhelming majority of home and small-shop sanding work — and the money you save can go toward the abrasives, adapters, and extraction gear that actually determine how good your finish looks.
Frequently Asked Questions
Is a cheap orbital sander good enough for furniture refinishing?
For paint-grade and utility refinishing, yes. A budget random orbital sander with a flat pad and decent abrasives will strip finish and prep surfaces well. For fine furniture where you need a flawless hand-rubbed finish, the vibration and motor quality of a budget unit make consistent results harder, and stepping up a price band is usually worth it.
What size orbit should a budget sander have?
A 3/16-inch (5 mm) orbit is the most versatile choice for general work because it removes material at a reasonable rate. A 3/32-inch (2.4 mm) orbit leaves a finer scratch pattern and suits finish work better. If you can only own one sander, the larger orbit covers more tasks.
Do I need a variable speed orbital sander?
Variable speed is genuinely useful, especially the low end of the range. Slower speeds help on veneers, plastics, and finish scuffing, where a fast orbit burns through material quickly. Many budget sanders offer a dial, and it’s worth choosing a model that includes one over a single-speed unit at a similar price.
Can I use a shop vacuum with a budget sander?
Yes, and you should. Most budget sanders have a 1-1/4-inch or 1-3/8-inch dust port, and a rubber step adapter lets you connect a standard shop vacuum hose. Extraction keeps abrasive discs cutting longer, reduces airborne dust, and lowers the chance of dust working into the motor and bearings.
How long should a budget orbital sander last?
With regular dust extraction and reasonable care, a budget sander can last several years of hobby use. The most common failure is dust contamination of the motor and bearings, followed by worn backing pads. Choosing a model with replaceable pads and switches extends useful life considerably compared with a sealed, disposable unit.
Is it worth buying a used orbital sander instead of a new budget one?
Sometimes. A used mid-range sander in good condition often outperforms a new budget model, but check the pad for flatness and wear, listen for bearing noise, and confirm replacement pads are still available. If parts aren’t sold, a used tool is a gamble regardless of its original quality.